
I grew up in such a small town that we had NO fast food restaurants, except a walk-up Dairy Queen. Plus my mom didn't really believe in eating out. So I was pretty much deprived of fast food until my older sister turned 16 and got her driver's license. She would occasionally take me to the next town and treat me to Taco Bell. We both loved the Enchirito with that famous Taco Bell sauce and an order of cinnamon crispas made with flour tortillas for dessert.


Mexican Pizza
click HERE to print recipe only
makes 2 pizzas
ingredients
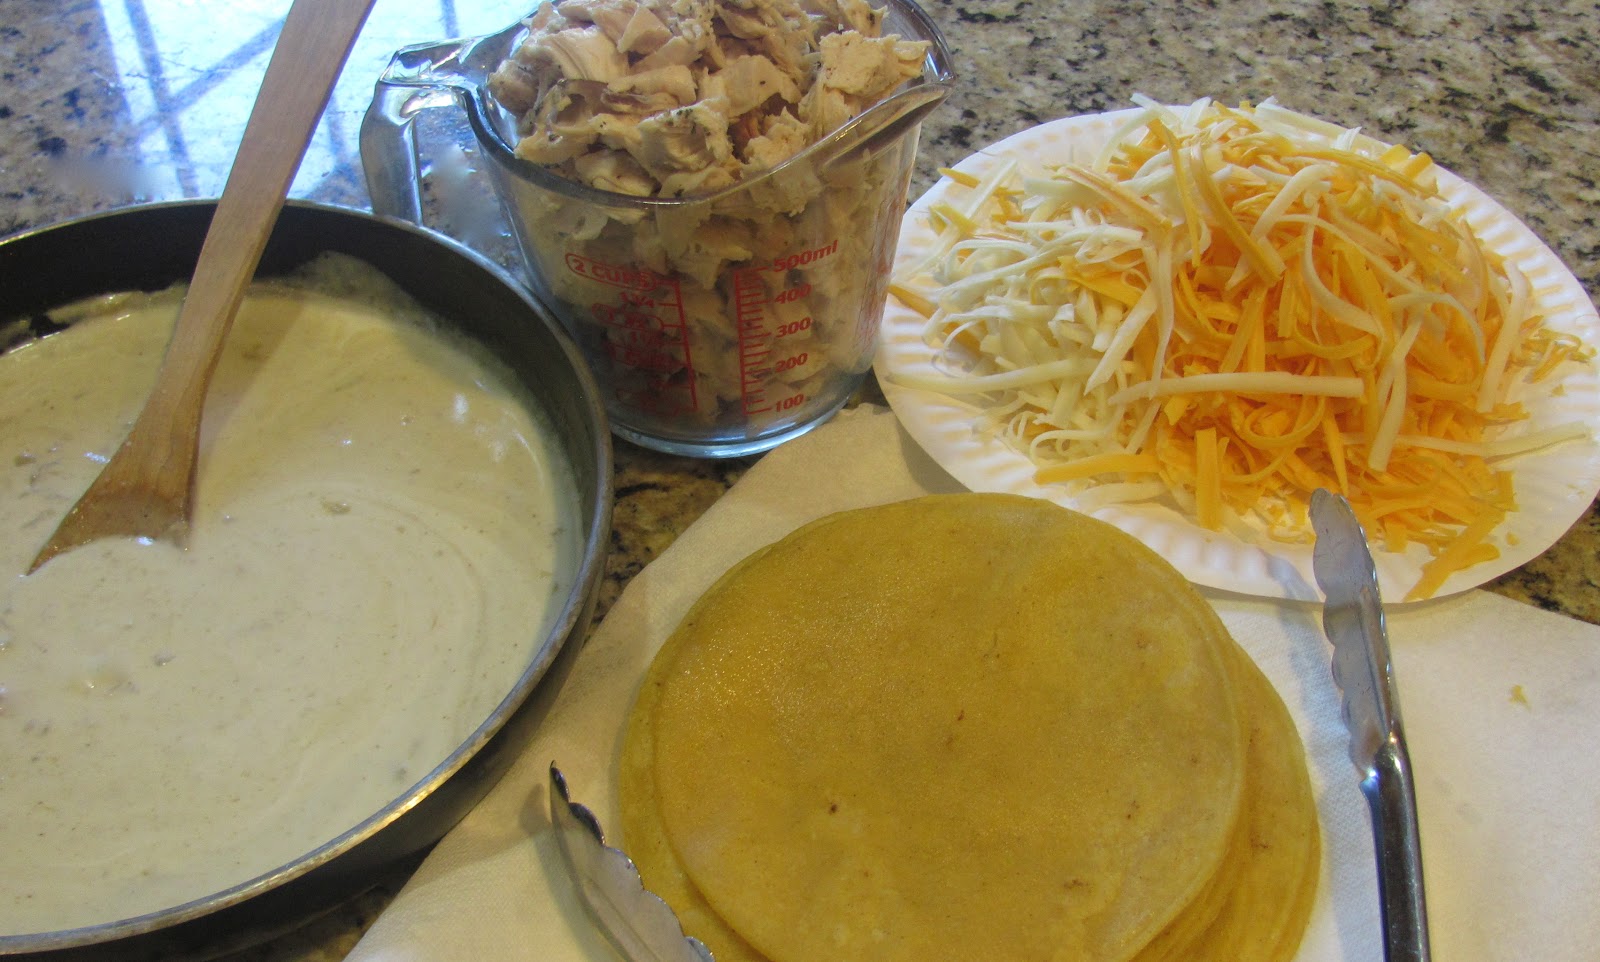
4 flour tortillas
2 Tablespoons vegetable or canola oil
1/2 pound ground beef
1/2 cup chopped onion
1 clove garlic, chopped
1 Tablespoon chili powder
1 teaspoon ground cumin
1/2 teaspoon ground black pepper
1/2 teaspoon salt
1 cup refried beans
1/2 cup salsa
2 cups shredded cheddar cheese
2 green onions, chopped
1 tomato, chopped
sliced black olives
sour cream & cilantro, optional
directions
1. Preheat oven to 350 degrees.
2. Brush tortillas lightly with oil and heat them on each side in a skillet over medium heat until barely browned. Watch closely so they don't burn.

3. Cook ground beef in a skillet with onion until browned. Add garlic and cook for another minute or two. Drain grease, if needed. Season meat with chili powder, cumin, black pepper and salt.

4. To assemble pizzas, place 2 tortilla on a cookie sheet, divide the beans between the 2 tortillas and spread to the edges. Divide the meat and sprinkle it over the beans on each pizza. Cover each with 2nd tortilla. Bake for 10 minutes. Remove from oven.

5. Spread quarter cup of salsa over each pizza. Top with cheese. Return to oven and bake for 5 to 10 minutes or until cheese is melted and toasty.


