Friday, April 13, 2012

monkey bread muffins party!


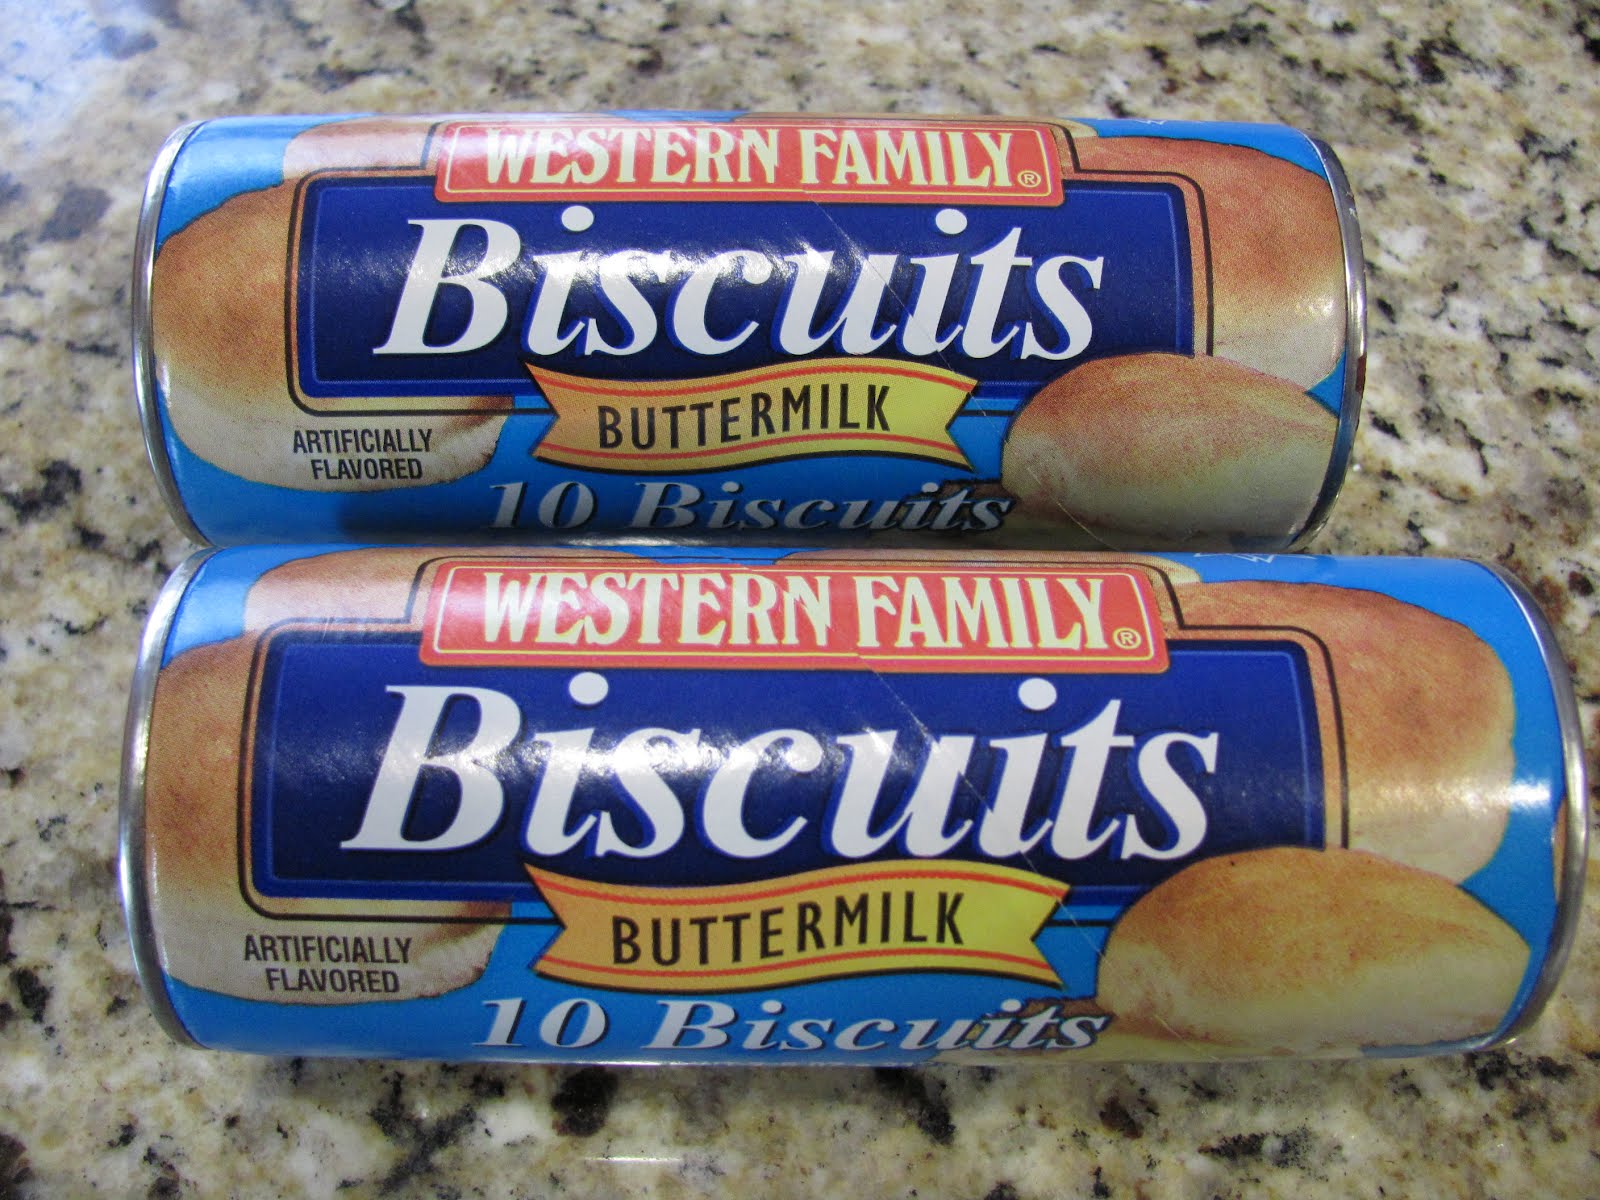
This is such a yummy, easy, quick & inexpensive treat! It's perfect for a lazy Saturday morning breakfast or a sweet midnight snack. My mom always used these canned biscuits to make "cinnamon twists" & this is basically the same recipe.

Monkey Bread Muffins

makes 1 dozen muffins

6 tablespoons butter, melted
1/2 cup sugar
1/2 cup brown sugar
2 teaspoons ground cinnamon
1/4 to 1/2 teaspoon ground nutmeg (I used 1/2 t. but I love nutmeg)
2 7.5 ounce cans refrigerated biscuits dough

1. Spray muffin tins well with cooking spray & preheat oven to 350 degrees.
2. Mix sugar, brown sugar, cinnamon & nutmeg in a bowl. Set aside.
3. Separate biscuits & cut into quarters with kitchen shears.
4. Dip quartered dough pieces into melted butter then toss in cinnamon/sugar mixture.
5. Placed 6-7 dough pieces into each muffin cup. If there is any leftover butter or sugar mixture, sprinkle it over the muffins.

6. Bake for 12-14 minutes or until it is my favorite color in the world...golden brown!

Tuesday, April 3, 2012

pizookie aka skookie aka skillet cookie party!


pi·zook
·ie [pe-zʊ-kee] rhymes with cookie\noun 1. a dessert cookie shaped like a pizza

skook·ie
[skʊ-kee] rhymes with cookie\noun 1. a cookie made from sweet dough baked in a skillet
I prefer the term...DELICIOUS! And ever since I saw the post at Sophistimom and this dessert on a restaurant menu I've been dreaming of it. I'm happy to say that all of those dreams have come true!

ingredients

1/2 cup (1 stick) butter
1/2 cup sugar
1/2 cup brown sugar
1 teaspoon vanilla extract
1 egg
1 1/4 cups all purpose flour
1/2 teaspoon baking powder
1/4 teaspoon salt
1 cup chocolate chips
1/2 cup chopped nuts

directions

1. Preheat oven to 350 degrees.

2. Melt butter in an 8 inch cast iron skillet over medium heat. Stir in sugar, brown sugar and vanilla. Remove from heat. Let pan cool for 5 minutes.


3. Add egg to skillet mixture and stir well with a fork. Add flour, baking powder & salt to skillet. Carefully mix with a fork until mixed well. Mixture will be thick.


4. Stir in chocolate chips and nuts.

5. Bake in pre-heated oven for 20-25 minutes or until edges begin to turn golden brown, but soft in the middle.

Serve warm with vanilla ice cream, chocolate ganache or chocolate syrup & chopped almonds.


Tuesday, March 27, 2012

coconut almond cheesecake with chocolate ganache party


When it comes to CHEESECAKE, I'm a purist! My favorite is rich, creamy, dense, smooth, New York style cheesecake, occasionally with cherry topping but I love it plain. It's one of my favorite desserts, which is surprising because it's usually not extremely sweet! I just love the subtle tang from the cream cheese and the buttery graham cracker crust. THIS cheesecake is anything but plain & offers everything in a NY style cheesecake PLUS coconut, almonds & chocolate.

I first fell in love with cheesecake as a kid. I remember being about 10 years old & riding my bike to Waltz Market & buying myself a whole Sara Lee frozen cheesecake. Do you remember those cheesecakes, in a disposable pie tin in a box? YUM!

I just received my April/May edition of Taste of Home magazine & was drooling over the cheesecakes on the cover & decided to immediately make one. I'm so glad I did; it's a winner! Everyone who tried it agreed & I hope you do too!
Almond Joy Cheesecake

Crust
1 1/4 cups graham cracker crumbs
1/3 cup flaked sweetened coconut
1/3 cup finely chopped almonds
1/3 cup butter, melted

Filling
3 packages (8 oz. each) cream cheese, softened
3/4 cup sugar
1 tablespoon coconut extract
3 eggs, lightly beaten
1 cup flaked sweetened coconut

Ganache
1 cup semisweet chocolate chips
3/4 cup heavy whipping cream
1 teaspoon vanilla extract

Garnishes, optional
whipped cream
toasted coconut
chopped almonds

1. Place a greased 9 inch springform pan on a double thickness of heavy-duty foil (about 18 inch square. Securely wrap foil around exterior of pan.

2. Crust: In a bowl, combine cracker crumbs, coconut and almonds; stir in butter. Press onto bottom of prepared pan. Bake crust at 350 degrees for 12 minutes. Cool.

3. Filling: In a bowl, beat cream cheese and sugar until very smooth. Beat in coconut extract. Add eggs, beat on low just until combined. Fold in coconut. Pour into crust. Place springform pan on a large baking sheet; add 1 inch of boiling water to larger baking sheet.

4. Bake at 325 degrees for 45 - 55 minutes or until center is just set. Mine was perfect at 45 minutes. Remove springform pan from water bath; remove foil. Cool on a wire rack for 10 minutes; loosen edges of cheesecake from pan with a knife. Cool 1 hour longer. Refrigerate overnight. Unfortunately, I'd say that the overnight refrigeration is a must. The flavor is so much better the next day. In fact, the next time I will make this 2 days in advance.

5. Ganache: Place chocolate chips in a bowl. In a small saucepan, bring cream just to a boil. Pour over chocolate chips; whisk until smooth. Stir in vanilla. Cool to reach spreading consistency, stirring occasionally. (If you have extra ganache, it keeps in the fridge for up to a week & makes a DELICIOUS hot fudge sauce for ice cream. Just reheat it over low heat.)

6. Remove rim from springform pan. Spread chocolate ganache over cheesecake. Refrigerate until set. Garnish as desired. I added chopped almonds to the sides of the cheesecake and topped it with whipped cream & toasted coconut.
 

Sunday, March 11, 2012

coffee cake muffins with cinnamon streusel party!

Pin It

I broke my Sunday morning tradition of making homemade waffles to make this classic recipe. I remember my mom making coffee cake for us all the time when I was growing up. It's a delicious cake with simple ingredients & is perfect for breakfast, brunch or dessert. This one is just like mom used to make except I made it into muffins. If you prefer you can bake it in a 9x13 pan at 375 degrees for 35-40 minutes.

Cinnamon Streusel Topping
1 cup brown sugar, packed
1/4 cup flour
1/3 cup pecans, finely chopped
1 teaspoon cinnamon
1/4 cup cold butter, (1/2 stick, cut into pieces)

In small bowl combine 1st four ingredients. Cut in 1/4 cup butter with pastry blender until mixture is crumbly. Set aside.


Muffins
1 cup brown sugar, packed
1/2 cup butter (1 stick), softened
3 eggs
3 cups flour
2 teaspoons baking powder
1 teaspoons baking soda
1/2 teaspoon salt
1 teaspoon cinnamon
1 cup buttermilk
1 tsp. vanilla

directions:

1. Preheat oven to 400°F. Spray muffin tins for 18 muffins with cooking spray or line with paper baking cups.

2. In large mixing bowl cream brown sugar, butter and eggs. Combine flour, baking powder, baking soda, salt and cinnamon. Add to creamed mixture alternately with buttermilk. Stir in vanilla. Batter will be thick.

3. Spoon half the batter into muffin tins, sprinkle with half the crumb mixture. Add remaining batter and top with remaining crumb mixture.

4. Bake 5 minutes at 400 degrees then decrease temperature to 375 degrees and bake for an additional 12-15 minutes. Cool 5 minutes & remove from pans into cooling rack.

P.S. I didn't bake my muffins in the paper baking cups shown in the first photo. I just like to put them in the papers for serving.

Monday, February 27, 2012

s'mores bars party!

Pin It

PRINT RECIPE ONLY

You can't go wrong with a recipe that calls for 2 GIANT Hershey's bars & a jar of marshmallow cream! Add graham cracker cookie dough & you will be crying for S'MORE!!! These are the perfect S'mores, even better than the real thing! It's a total win-win situation. I get my favorite camping treat & I don't have to sleep in a tent!

Thank you, Campfire Girls, for inventing S'mores!

S'mores Bars
recipe adapted from Baking Bites

ingredients
1/2 cup butter, softened
1/4 cup brown sugar
1/2 cup sugar
1 large egg
1 teaspoon vanilla
1 1/3 cups flour
3/4 cup graham cracker crumbs (I used about 6 full graham crackers to get 3/4 cup crumbs)
1 teaspoon baking powder
1/4 teaspoon salt
2 Giant Hershey's milk chocolate bars (7 ounces each)
1 jar marshmallow cream, 7 ounces

directions
1. Spray an 8" baking pan with cooking spray. I also lined it with sprayed parchment paper but that is not necessary.

2. Place graham crackers in food processor & pulse until fine crumbs. Or you can just put them in a ziploc & crush them with a rolling pin, etc. Set aside.


3. In large mixing bowl, cream the butter and sugars with electric mixer. Add egg & vanilla & mix until combined.

4. In a separate bowl combine flour, graham cracker crumbs, baking powder & salt. Slowly add this mixture to the butter mixture and mix until combined.


5. Divide dough in half & press half of dough in the bottom of the prepared pan.

6. Place chocolate bars over dough, side by side. I had to cut about 1/2 inch from one of my chocolate bars for them to fit perfectly.


7. Spread the marshmallow cream over the chocolate bars.


8. Roll out the remaining dough into an 8 inch square. I rolled it out on the inside of one of the chocolate bar wrappers and then turned it over on top of the marshmallow cream.


9. Bake @ 350 degrees for 30 minutes, until lightly browned. Cool completely before cutting.


P.S. You can substitute 12 ounces milk chocolate or semi-sweet chocolate chips for the Hershey's bars.Pin It

Tuesday, January 31, 2012

peanut butter pretzel pops party!

I wanted to "up the ante" on my usual dipped pretzels for Valentines Day this year. You might remember my recipe for peanut butter balls from a couple of months ago. I combined my pb balls & dipped pretzels, added lollipop sticks & made PEANUT BUTTER PRETZEL POPS! The only question I have is..."peanut butter pretzel pops, where have you been all my life?" I think you're gonna like these too!

Peanut Butter Pretzel Pops

1 recipe of Peanut Butter Balls found HERE. Follow recipe through step 2.
16 oz. white candy coating, like CandiQuik
a bunch of mini pretzels twists
6 inch lollipop sticks
Sprinkles

directions
1. Using a 2 teaspoon cookie scoop, measure out your peanut butter filling and press it between 2 pretzels, positioning the lollipop stick in the middle. Freeze until the peanut butter is very firm. P.S. ya know those little nubs on the sides of the pretzels? After I took the pic below, I cut those off to make them more closely resemble a heart. If you make these, do that BEFORE you start. :)

2. Melt candy coating in microwave on 50% power at 1 minute intervals until melted & smooth.

Link
3. Dip pretzel pops into melted candy coating and sprinkle with sprinkles. I stuck my lollipop sticks into a Styrofoam box to set up but it would have been easier just to lay the pops on waxed paper.

I also made a bunch of pretzel pops WITHOUT peanut butter just in case you have some non-peanut butter lovers.

Pin It

Non-Peanut Butter Pretzel Pops


Dip pretzels in white candy coating & place on waxed paper. Sprinkle with sprinkles & allow to set up.
Use 4 inch (smaller) lollipop sticks and sandwich the sticks between 2 dipped pretzels, using additional melted candy coating as glue.

Enjoy!

Monday, January 23, 2012

sweet heart valentine pops party!

Click HERE to join me on Facebook for the latest updates on new recipes!


Pin It

I had so much fun making these with my little girl today! Ok, she’s 16 & she’s taller than I am & she only made 1 & then she immediately ate it. But we DID have fun! That part is true. If you have little people at your house they will LOVE these. They would be super cute for a class treat, teacher gift or a little something for your VALENTINE!

I had good intentions when I bought these candy canes in December but never got around to using them as planned. I remembered seeing this idea in Family Fun magazine last year at the dentist office. I was happy to find the instructions again HERE.


After reading the reviews, I adapted the instructions a bit & I found these to be quick & easy. I made one dozen pops in about 30 minutes.

Sweet Heart Valentine Pops

24 mini candy canes
12 6" lollipop sticks
1 cup white candy coating, like CandiQuik
Sprinkles

1. Heat oven to 300 degrees. On a parchment lined baking sheet, arrange the candy canes as hearts with the lollipop stick centered in between the two candy canes. Bake for 3 minutes. You want them to be malleable, but not melted.


2. Remove from oven & shape candy canes into hearts by pinching the the bottom of the heart into the stick and pinching the top ends together. I also pulled the edges out to make my hearts more round and full. They will be hot & you need to work fairly quickly. If the candy canes harden before you have them shaped, just stick them back in the oven for a couple of minutes. I re-heated mine a few times before I got the hang of shaping them the way I wanted them.


3. Melt candy coating in the microwave at 30 second intervals on medium power, stirring between heatings, until smooth.


Pin It

4. Spoon the melted candy coating into the center of each heart, then top with sprinkles. Cool the pops before serving or wrapping.

Pin It

P.S. If you want to do this even easier, don't soften & shape the candy canes. Just spoon the candy coating right onto the arranged candy canes & sticks. You can also make these without the lollipop sticks.

P.P.S. I've made these a bunch & they DO NOT work with candy canes made in China (purchased at The Dollar Tree). China made candy canes do not soften in the oven. I've had really good luck with the brand shown above, Spangler & also some that I bought at Target that were made in Mexico.  


Related Posts Plugin for WordPress, Blogger...